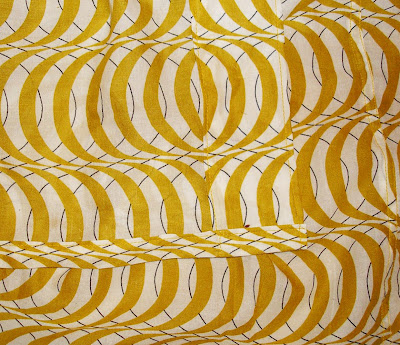
I had to cut the felted seam out ( the fabric wouldn't bear all the tearing and unstitching) and then I had to cut some length on the other side too. So the pattern is a bit different because of that, but I doesn't seem to have a great effect on it anyway.
The pattern is the Burda 09/2008 Nr. 126 B. All in all I will say it is an easy going pretty quick pattern. I found it refreshing after the whole dress puzzle with a lot of pieces and plaid matching to make something quicker. It is also flattering and easy to fit wit the elastic. It will make a great shirt dress too.
I used flat felled seams (thanks Dalila!) everywhere and it is really a very clean inside:


And outside:


Certainly they are not perfect - there are a few wonky spots, but I am still happy with them.
What I really messed up is the button placket - in the original Burda pattern it is a complicated thing that is somehow folded backwards. To be honest I wasn't that much into it and thought it is unnecessary work so I didn't even tried to get it...
So what it happened at the end I made the placket just as I always do, but forget to check with the collar width. Consequence - the neckline opening was longer. OK. Next solution - put a small piece of fabric at the extra length and improvise with the collar ending ( Anyway I am always screwing up collars with stand when it comes to attach them to the bodice. Any good online tutorial on that?). OK. Next consequence:

Ugly...
Not sure how they are sewing the cuff in the original modell. I just opted for my standard procedure ( scroll down with the dot com dress and you'll find the tutorial) - iron a bias tape and sew it on. Then I just sewn on the cuffs. Easy.
Inside:

Outside:

The elastic is done the same way as with the Coat Elisabeth project. Self fabric stripes are being stitched on and then the elastic is fixed at both ends.
Inside:

Outside:

The hem was easy this time - thanks god it is a straight one. I just rolled it and ironed it flat. Next thing I did different as usual is that I fixed it from the inside. Same with the placket. Mostly I hate the fact that on the right side I looks fine but on the inside the seam is to much in or out... Stitching from the inside helps...

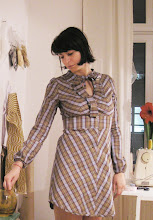
The blouse on the outside. I will post next time some images wearing it.


4 comments:
Psychedelic! Like I said before, you always choose the best prints. I can't wait to see what it looks like on you.
Great blouse! So funky.
(The seam you used is actually called "flat felled.")
Thanks Christina! I kind of love the weirdness of this print. I think I may have made the elastic too tight...
And thanks Dalila - I changed it...
Nice blog youu have
Post a Comment